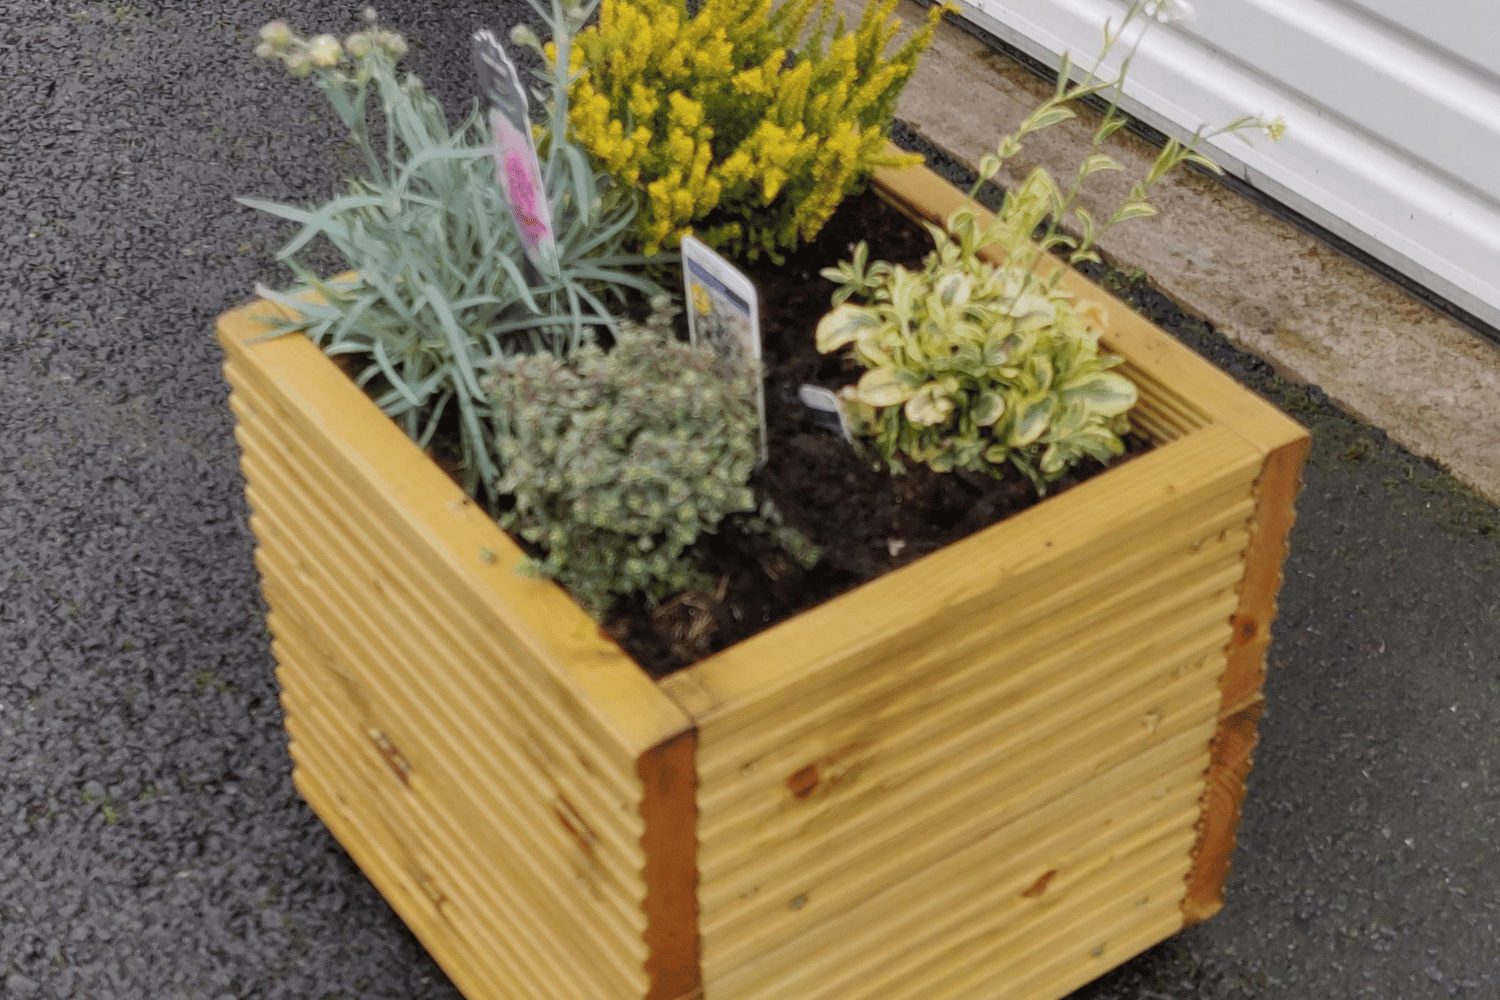
Whether you’re a seasoned gardener or just starting out, preparing your planter boxes for new plants is an essential part of ensuring a thriving, beautiful garden. A well-prepared planter can make all the difference in the health and success of your plants. In this blog post, we’ll walk you through the steps to prepare your planter for new plants, from cleaning and maintenance to soil selection and amendments.
-
Clean and Inspect Your Planter Box
Start by giving your planter box a thorough cleaning to remove any dirt, debris, or remnants of previous plants. Use a stiff brush and warm, soapy water to scrub away any grime and rinse the planter box with clean water. If you’re using a wooden planter box, inspect it for any signs of rot, cracks, or damage that could compromise its structural integrity. Repair or replace any damaged parts before planting.
-
Check for Proper Drainage
Ensuring your planter box has proper drainage is crucial to prevent waterlogged roots, which can lead to root rot and other problems. Check for drainage holes at the bottom of your planter box and clear any obstructions to ensure water can flow freely. If your planter box doesn’t have drainage holes, consider drilling a few small holes to improve drainage.
-
Choose the Right Soil
The right soil mix can significantly impact the health and growth of your plants. Opt for a high-quality potting mix specifically designed for container gardening. These mixes typically contain a blend of ingredients like peat moss, vermiculite, and perlite, which promote good drainage and aeration while retaining moisture and nutrients. Avoid using garden soil, as it can be too heavy and compact for planter boxes, limiting root growth and drainage.
-
Amend Your Soil
Before filling your planter box with soil, consider amending it with organic matter to improve its structure and nutrient content. Compost, aged manure, or leaf mold can provide essential nutrients for your plants while also improving soil aeration and water retention. Mix the organic matter into your potting mix at a ratio of about one part amendment to three parts soil.
-
Fill Your Planter Box
Fill your planter box with the amended soil mix, leaving about an inch of space from the top to allow for watering and root growth. Tamp the soil down gently to remove any air pockets, but avoid compacting it too much, as this can hinder root growth and drainage.
-
Plan Your Plant Layout
Before planting, plan out your plant layout, taking into account each plant’s growth habits, size, and spacing requirements. Arrange your plants in a way that allows for proper airflow, sunlight exposure, and access to nutrients. Taller plants should be placed towards the back or center of the planter box, while smaller, trailing plants can be positioned near the edges.
-
Plant Your Seedlings or Seeds
Once you’ve planned your layout, it’s time to plant your seedlings or seeds. Gently remove seedlings from their containers, being careful not to damage the roots. Dig a hole in the soil slightly larger than the root ball, place the seedling in the hole, and backfill with soil, pressing down gently to secure the plant. If planting seeds, follow the seed packet’s instructions for planting depth and spacing.
-
Water Your Plants
After planting, water your planter box thoroughly to help settle the soil and ensure good contact between the roots and soil. Keep the soil consistently moist, but not soggy, as your plants become established.

