Planter Assembly Instructions

The planters are available in three sizes – SMALL, MEDIUM and LARGE.
Tools required -star head handheld or electric screwdriver.
The assembly for each size is the same except additional screws are required for the larger versions.
The planter comes with the floor and feet section already assembled. Note the continuous slot in the floor section for drainage purposes.
STEP 1 – Place the floor and feet section on its side.
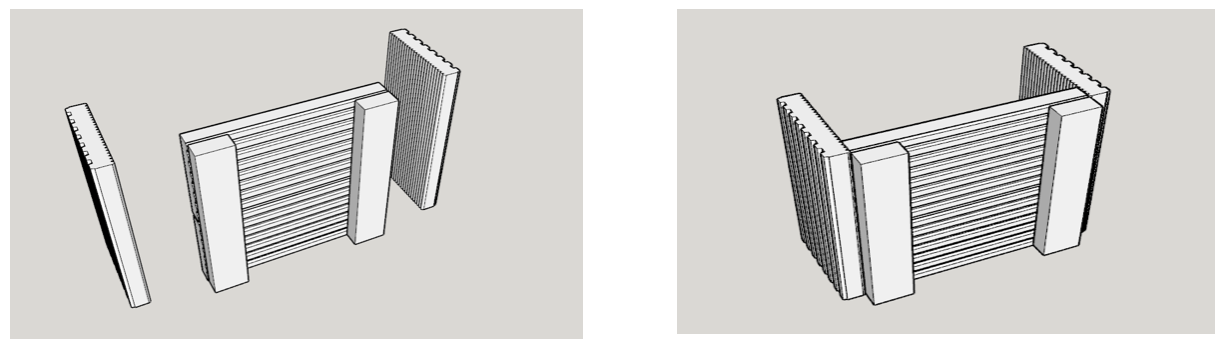
STEP 2 -Align the bottom edge of planter sides with the bottom of the floor section as shown. Fix the sides to the floor section using the screws provided.
STEP 3 – While on its side now fix the front section as shown using the screws provided.
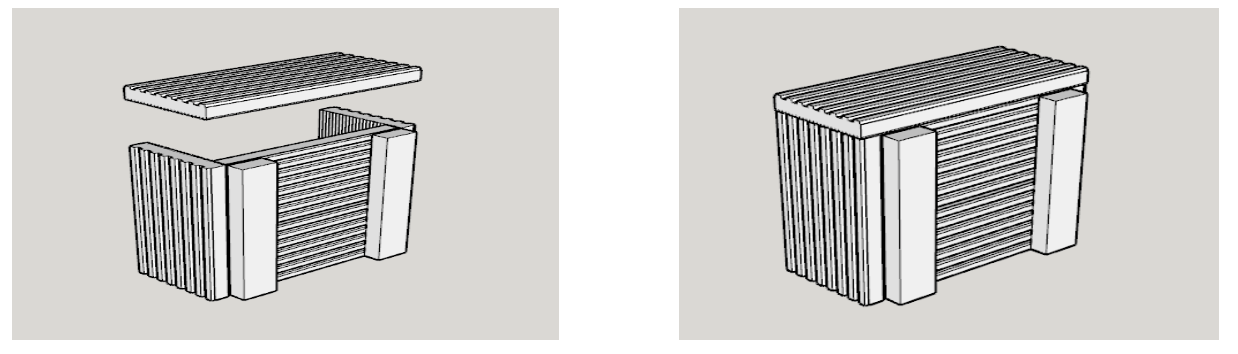
STEP 4 – Turn the planter over and fix the rear section.
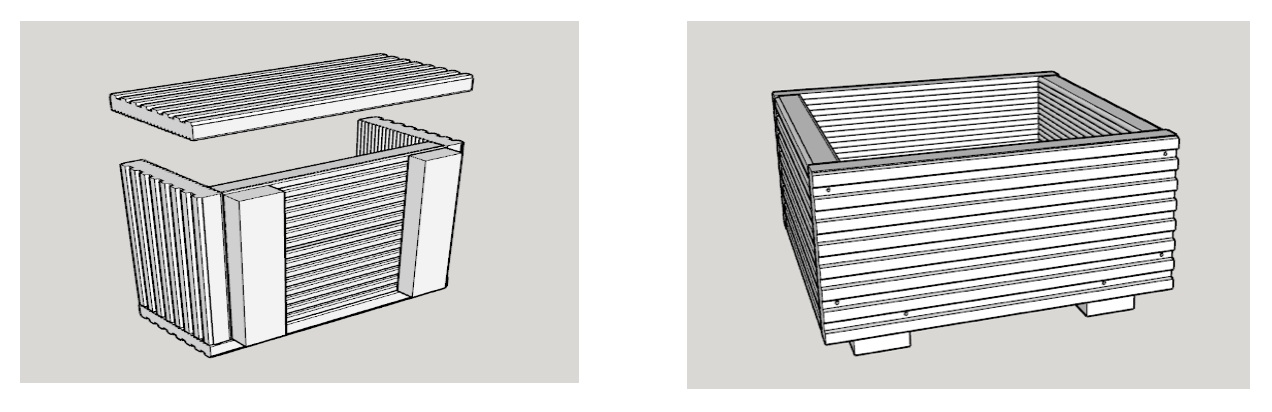
The planter is now ready for use.
For best results hose down the planter. This will remove any sawdust residue and excess soil.
REPEAT THIS PROCESS FOR EACH PLANTER IN THE COMBINATION
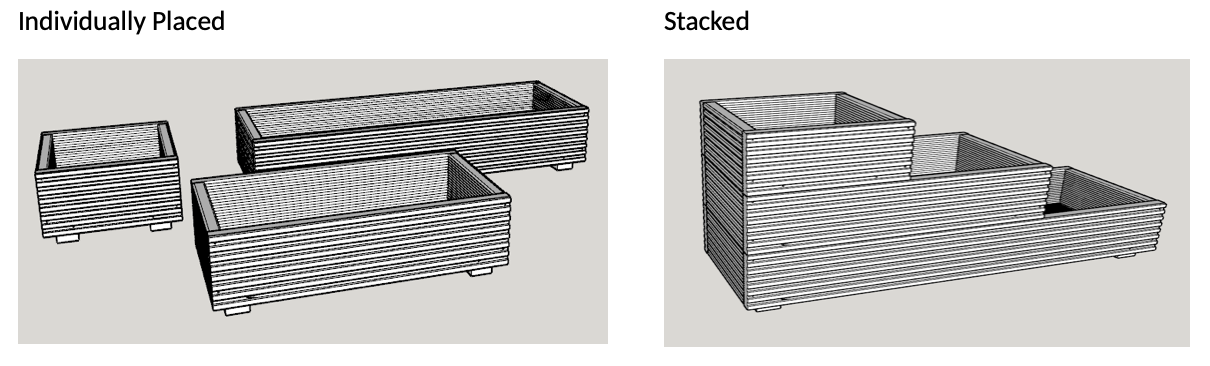
PLANTER COMBINATIONS AVAILABLE
Planter combinations can be used as individual planters or stacked as shown.
Ben Crom – Consists of Two Small Sized Planters

Meelbeg – Consists of Two Medium Sized Planters

Donard – Consists of Two Large Sized Planters

Binnian – Consists of One Small Planter and One Medium Planter

Commedagh – Consists of One Small, One Medium and One Large Planter